Getting Started
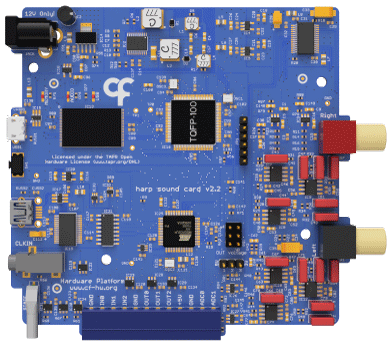
The Harp SoundCard is a high-performance audio device with two output channels using 24-bit DACs and a maximum sampling rate of 192 kHz.
Installation
- Install the WinUSB driver if you plan to upload sounds to the onboard memory:
- Download and launch Zadig.
- Connect the USB Micro-B cable to the computer.
- Select the "Harp Sound Card" from the list. If the device is not available, go to "Options" > "List All Devices".
- Select the "WinUSB" driver and click "Install Driver".
- Install Bonsai.
- Install the
Harp.SoundCardpackage by searching for it in the Bonsai package manager.
Waveforms can be generated and uploaded to the SoundCard in Bonsai. Optionally, you can use the Harp SoundCard GUI as a standalone interface for waveform management. This requires the LabVIEW runtime to be installed first.
Connections
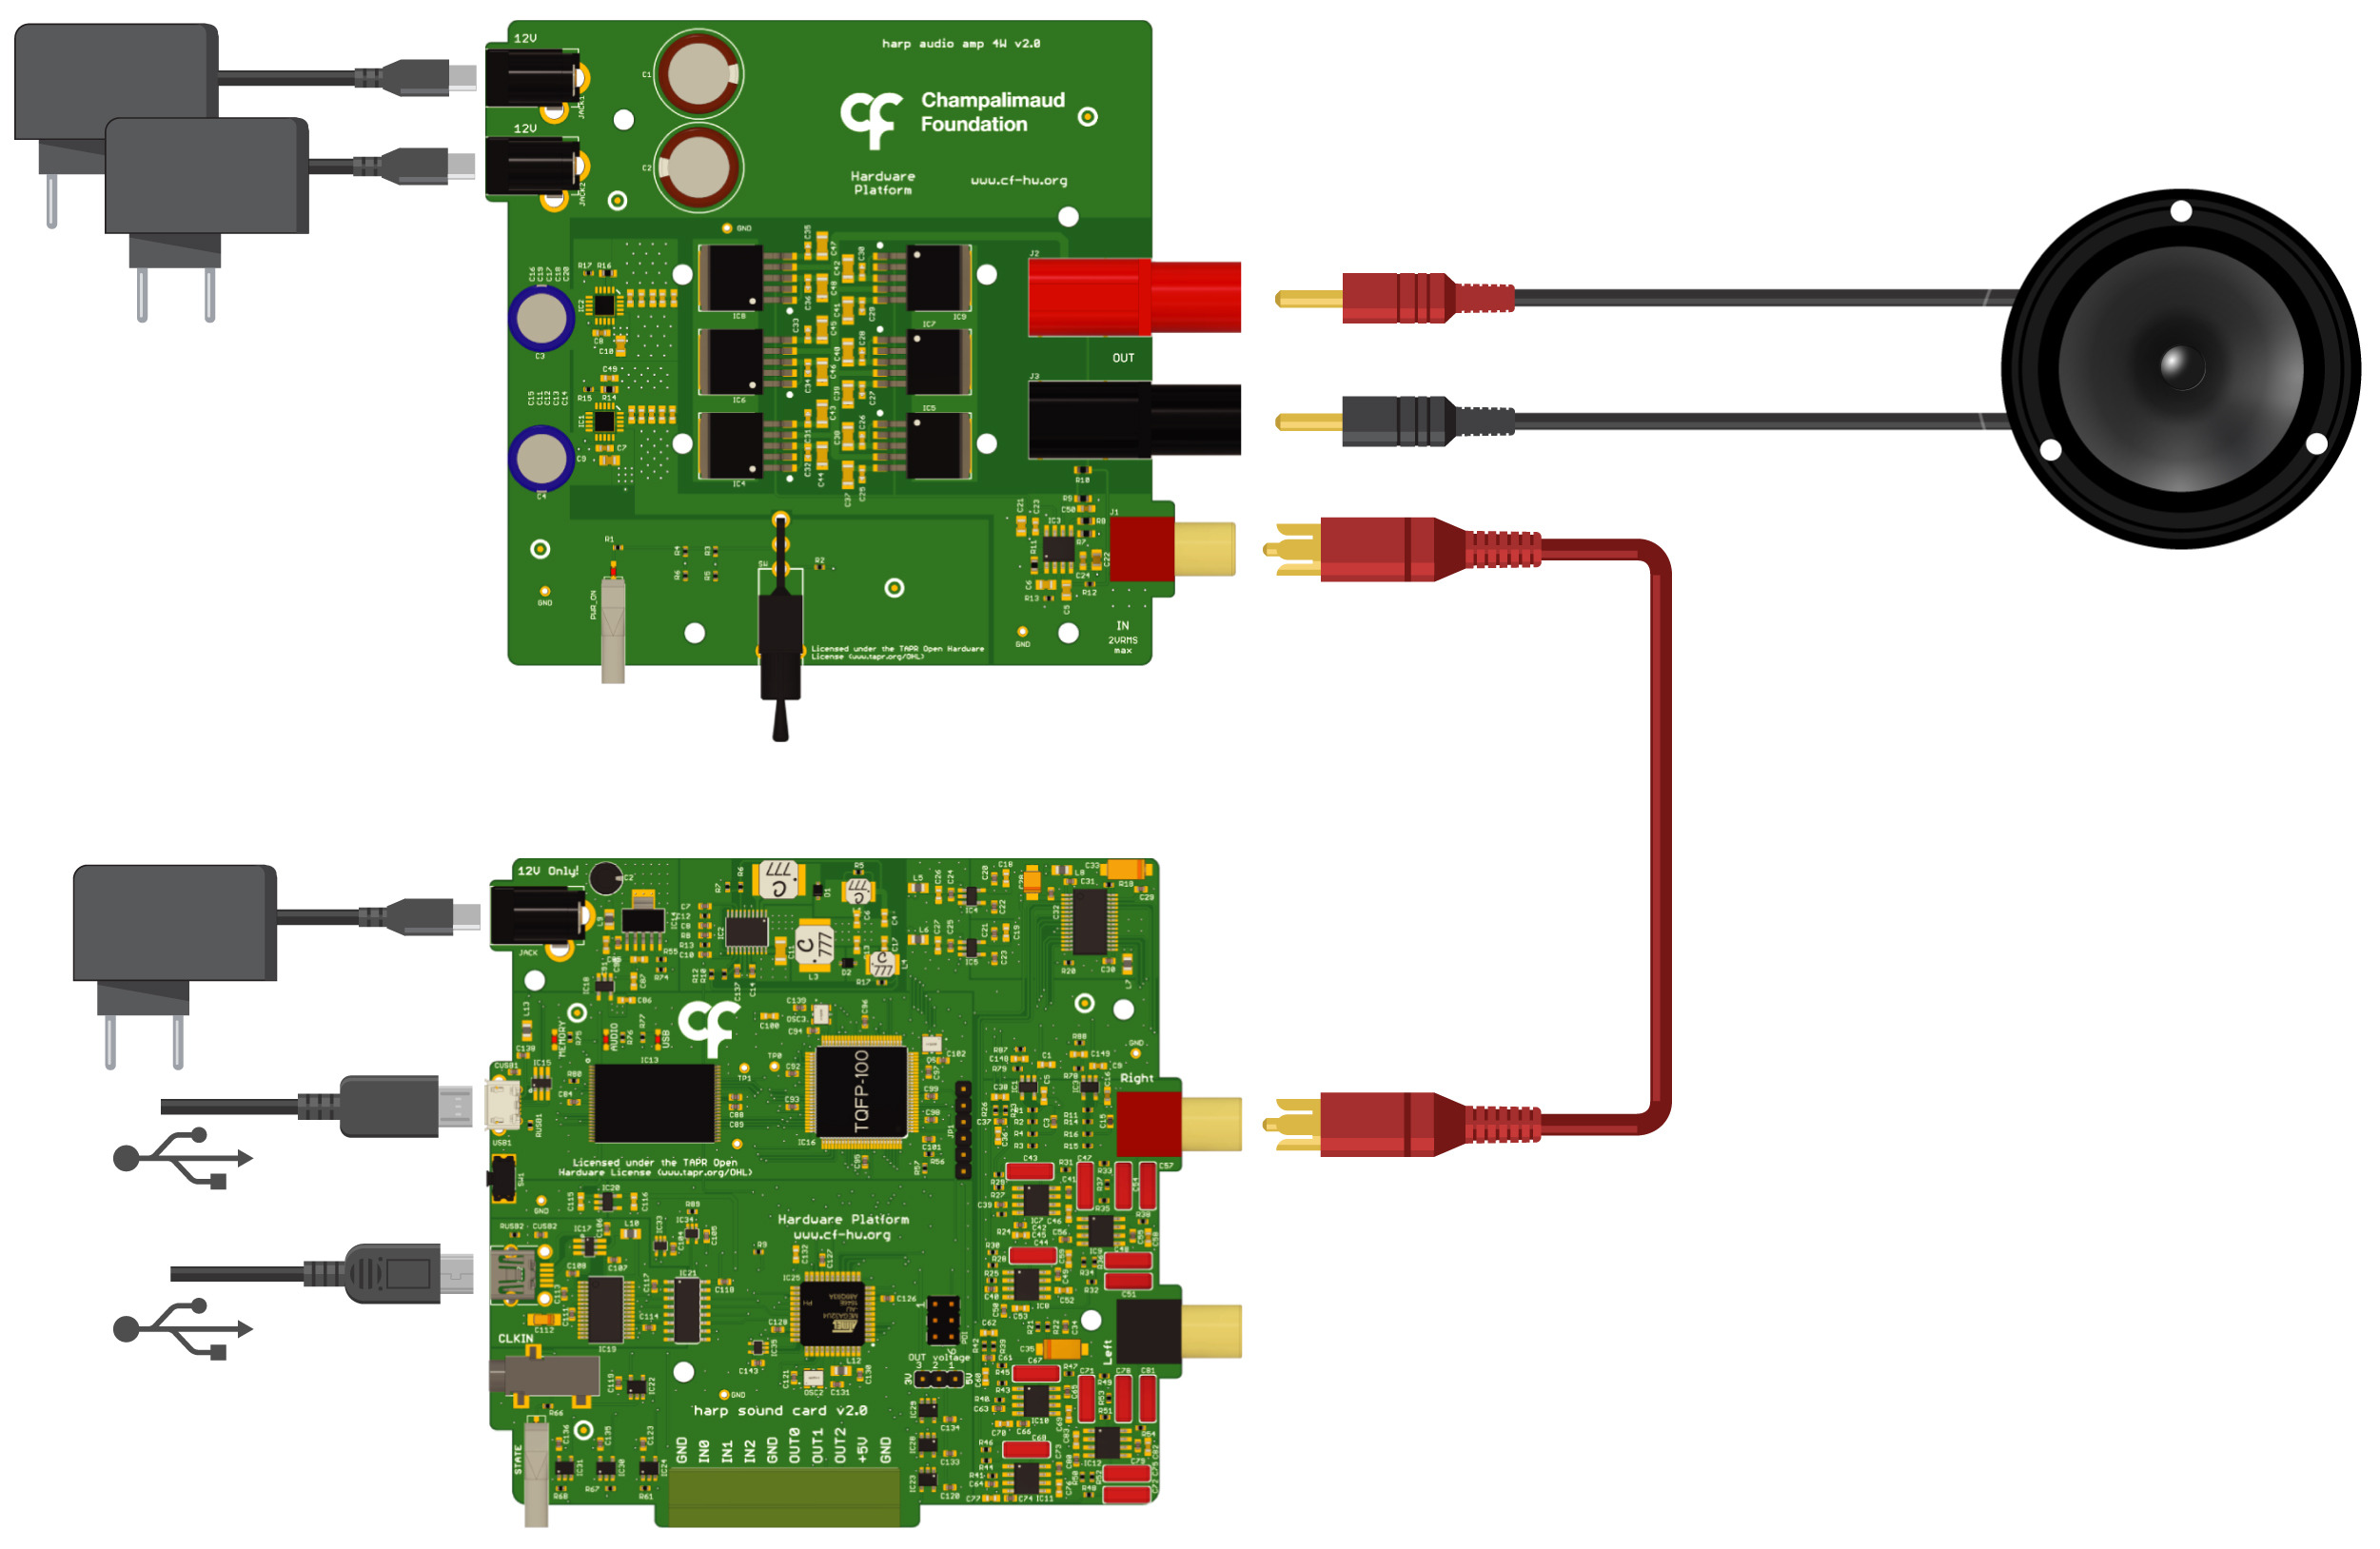
Single channel connection diagram with Harp Audio Amplifier and attached speaker. Reproduced from Silva et al. (2024). CC BY 4.0.
Amplifier - The SoundCard requires an external amplifier. For high-fidelity applications, consider using the Harp Audio Amplifier.
Speaker - The choice of speaker depends on the amplifier. For the Harp Audio Amplifier, any speaker with an impedance from 4 to 8 ohms can be used. The XT25SC90-04 (Peerless by Tymphany) has been tested and has a good frequency response up to 80 kHz.
Testing the device
- Hover over the workflow cell above, click the "Copy" icon in the top right, and paste the workflow into Bonsai.
- Set the
PortNameproperty of theSoundCardoperator to the communications port of theSoundCard(e.g. COM7). - Run the workflow. If the
SoundCardis properly connected, you should hear a short tone.
These tutorials were written and tested with:
Hardware v2.2
Firmware v2.2
Harp.SoundCard v0.2